Walking Brakeman Car Instructions
Some members have inquired about instructions for installing the brakeman/flag on the new walking brakeman car they just received. Lionel did not supply any but here is a few points that should suffice,
Following is a suggested method for attaching the figure to the top of the car.
1. There is a small slot between the legs of the Brakeman. Place a drop of lubricating oil into that slot.
2. Place the car on its side on a towel or other soft surface so you do not damage the graphics and paint scheme,
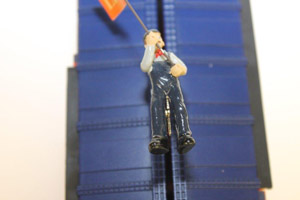
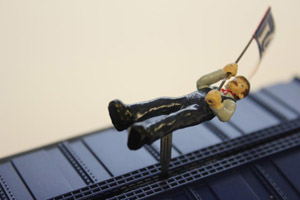
3. Grasp the pin that protrudes through the top of the car with needle nose pliers. You will note the pin is attached to the car mechanism. Grasp both the mechanism and the rotating pin so that the pin is about perpendicular to the top of the car (you might want to place a tiny bit of oil on the very top of the pin as well). Slide the figure down over the pin engaging the slot between the legs with the pin. Push the figure down on the pin until his feet just clear the top of the car.
4. Insert either flag into the holes in the hands of the Brakeman. Note the flag poles are somewhat flexible. This intentional feature allows you to insert the flag pole into the holes which may be slightly off center due to the manufacturing processes used.
5. Place the car on the track and power up per the Lionel instructions. As long as there is track power the figure will move from one end of the car to the other. Be sure to test the car on any tunnels or overpasses to be sure you have proper clearance.